Things you need to know:
See more
**[Skills class study/Network] - [Network] About NAT**](https://nabomhalang.tistory.com/entry/네트워크-NAT에-대해서)
[[Network] About NAT — NAT converts the internal IP to another IP when going out from the internal network to the outside. ① NAT Static: NAT that pre-maps and fixes the source and destination IPs ② NAT Dynamic: where neither source nor dest
— nabomhalang.tistory.com
We'll configure it so the Client can communicate with the external servers main_srv and slave_srv, but the external servers can't communicate with the client — and we'll use NAT for this. We'll use a feature called masquerade.
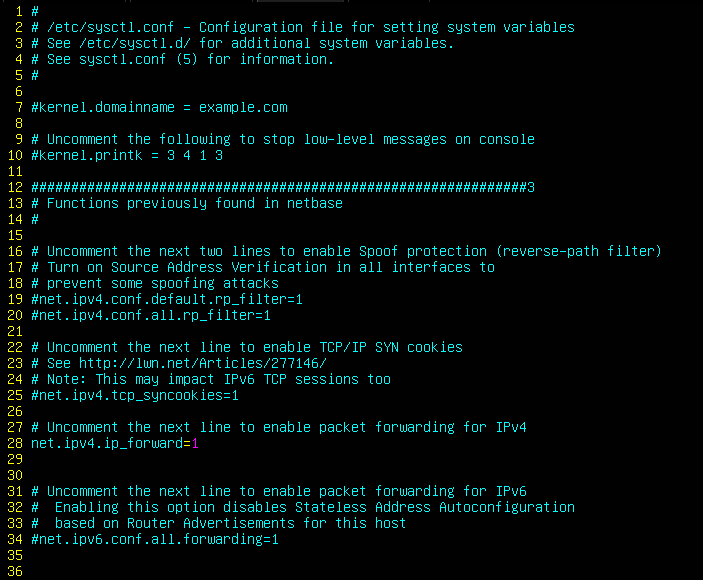
vim /etc/sysctl.conf
Line 28, net.ipv4.ip_forward=1, will be commented out; remove the # to uncomment it and exit with :wq.
echo 1 > /proc/sys/net/ipv4/ip_forward
sysctl -w net.ip4.ip_forward = 1
Use whichever of the 2 commands above works.
iptables -A FORWARD -o ens33 -j ACCEPT
iptables -A FORWARD -o ens37 -j ACCEPT
iptables -t nat -A POSTROUTING -o ens33 -j MASQUERADE
ACCEPT everything so access is possible on ens33 (internal) and ens37 (external). Then enter the 3 commands above in order. Then now a ping is sent from the Windows Client to the main_server.
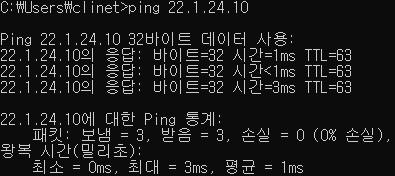
windows Client → main-server
Now we'll configure it so SSH can connect from the Windows Client. This is done on the main-server.
apt install openssh-server
sudo systemctl status ssh
Install ssh with install openssh-server.
※ If openssh doesn't install, try ifconfig and check whether ens33 is off and ens37 is on. ens33 is a virtual network so it must be off when downloading packages, and ens37 must be on to receive packages.
After installing, enter the second command to check whether it's running.
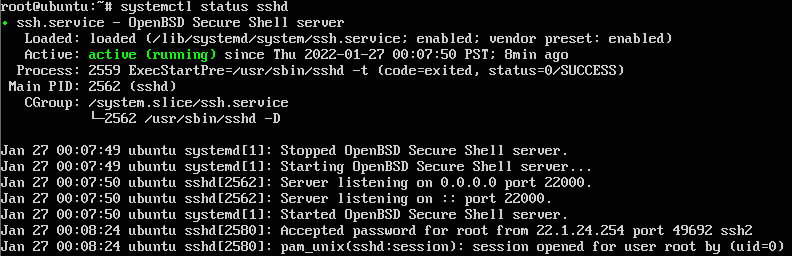
You can confirm it's running. Now with this, SSH connection from the Windows client will work. Since I made it on main and my main-server's hostname is main, in my case connecting is possible with ssh [email protected].
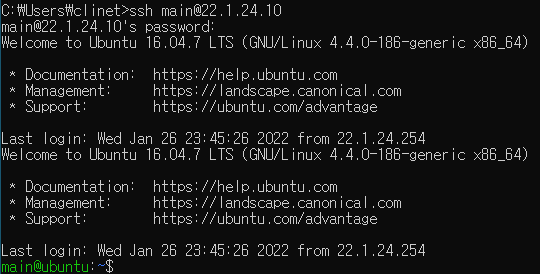
Connecting to main-server from Windows terminal
Now we'll make it possible to connect as root in one go. If you think ssh [email protected] will work, try it once. It probably won't. So let's configure it so root can connect.
※ If SSH connection from the Windows Client doesn't work, there may be a case where port 22 isn't open on the main-server. In that case, enter ufw allow ssh or ufw allow 22 on the main-server to open the port again.
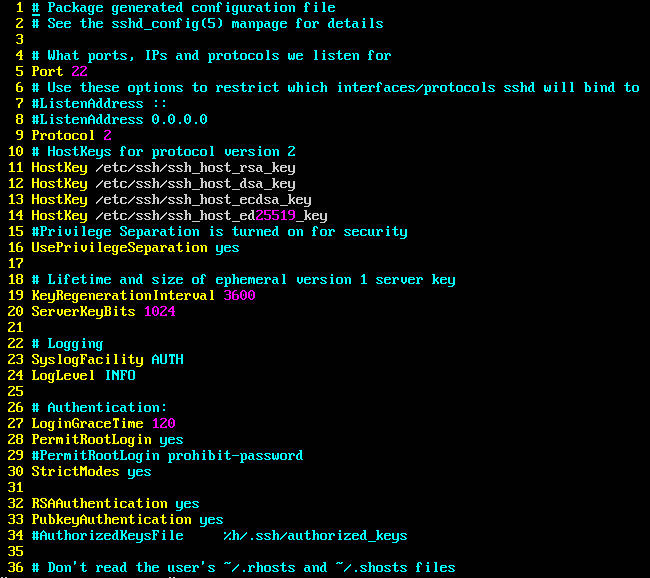
vim /etc/ssh/sshd_config
Go into the path above with vim and change it.
Port 22
- Specifies the default port SSH will use.
AllowUsers user1 root
- Records the accounts allowed to log in.
LoginGraceTime 600
- When the user's login isn't successfully completed, this is the time after which the server drops the connection.
- The default is 600 seconds.
PermitRootLogin no
- Determines whether root login is allowed. You can use yes, no, or without-password.
PasswordAuthentication yes
- Allows password authentication. This option applies to both protocol versions 1 and 2.
It determines whether the password-based authentication method is used during authentication.
For strong security, this option should always be set to no.
Here, to allow root login, change PermitRootLogin to yes and connecting with ssh [email protected] will be possible. If you also want to change the port number, change 22 in Port 22 to the port you want. In that case, connect with ssh [email protected] -p [port].
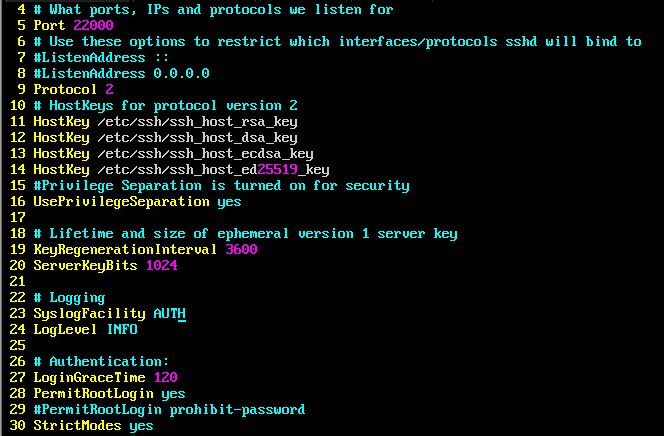
config
In the example above, I opened it on port 22000 and allowed RootLogin.
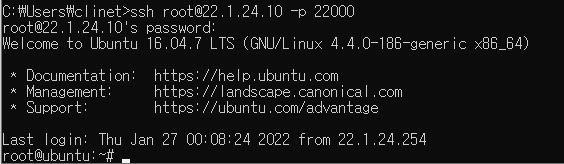
ssh [email protected] -p 22000
As above, you can see it connects fine as root. Now we'll do web service with apache.
apt install apache2
Entering the command above installs apache2.
※ From now on, you must do things like turning ens33 and ens37 off and on yourself.
Once apache is successfully installed, go to the Windows client, open a browser window, and enter the main-server's IP. Then apache2's default site screen will appear. Now let's delete the default template and enter "Hello World". Then you'll get a screen like below.
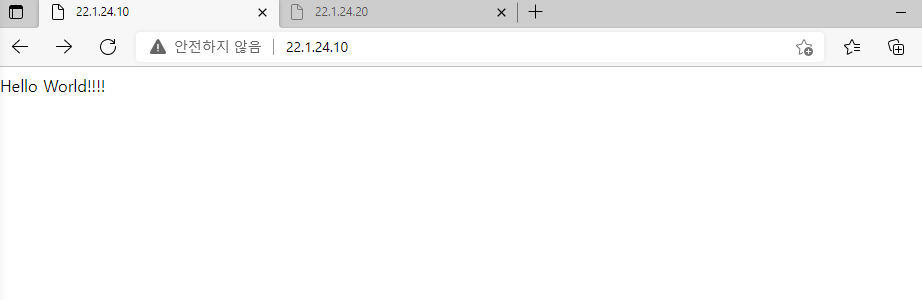
22.1.24.10
You can confirm it shows up fine. Now on the slave-server we'll install nginx and configure it the same way we configured apache.
apt install nginx
vim /var/www/html/index.nginx-debian.html
Once this too finishes installing, you can connect by IP just like apache.
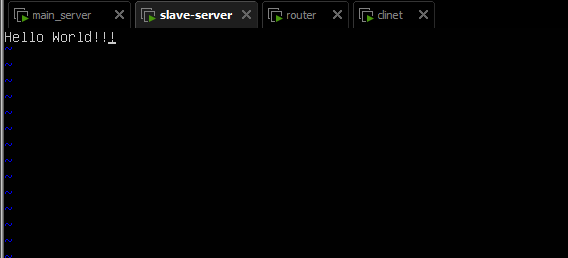
vim /var/www/html/index.nginx-debian.html
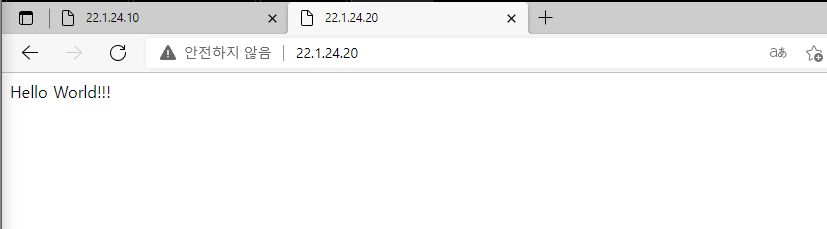
Once you've changed it well as above, go back to the Windows client and this time put the slave-server's IP in the browser — you can confirm it displays on screen just like the apache setup.
Changing the Apache2 and Nginx root directory
apache2
For apache2 you have to change 2 files total. First, /var/www/html/ is the default directory — let's change it to /home/main/server/.
vim /etc/apache2/apache2.conf
vim /etc/apache2/sites-available/000-default.conf
You have to edit in the 2 files above.
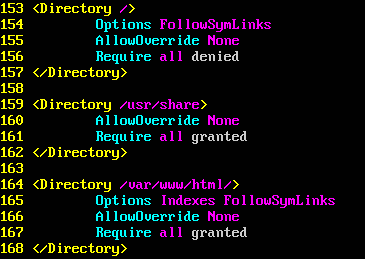
vim /etc/apache2/apache2.conf
Change the place at line 164 that says /var/www/html/ to /home/main/server/.
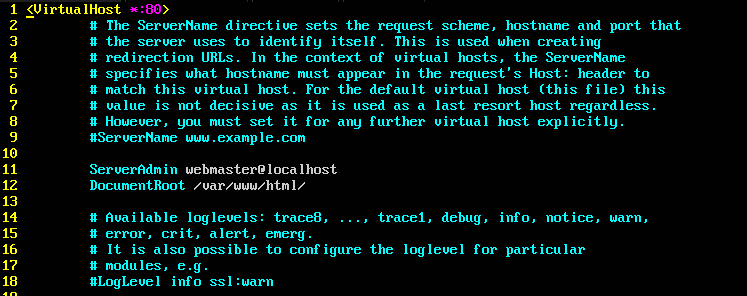
vim /etc/apache2/sites-available/000-default.conf
Change the /var/www/html/ file written in DocumentRoot to /home/main/server/. Then write index.html inside the /home/main/server directory to make a basic html file. Then restart apache2.
systemctl restart apache2
service apache2 restart
Only one of the two needs to work.
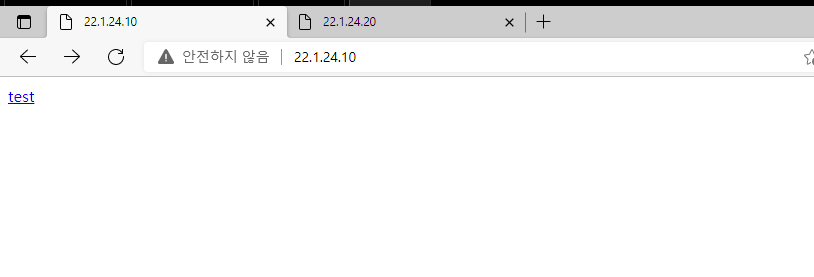
After applying
After applying, you can see it changed very well.
nginx
nginx is very simple. You only need to change a single file.
vim /etc/nginx/sites-enabled/default
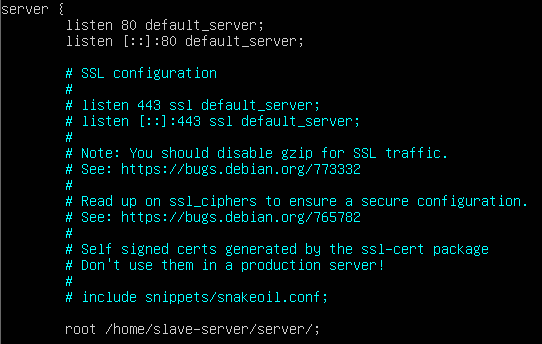
vim /etc/nginx/sites-enabled/default
In server, change the /var/www/html/ in root to /home/slave-server/server/. Then restart and you can see it works normally.
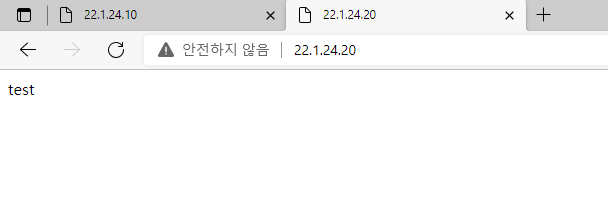
After applying
How to use IPTABLES
Table
- filter, nat, mangle, raw
- If not specified, it's filter by default.
Action
- -A (--append): add a policy; if other policies exist, it's added at the very bottom.
- -I (--insert): insert; if other policies exist, it's added at the very top.
- -D (--delete): delete a policy
- -R (--replace): replace a policy
- -F (--flush): delete all policies
- -P (--policy): set the default policy
- -L (--list): list policies
Chain
- INPUT
- OUTPUT
- FORWARD
- PREROUTING
- POSTROUTING
Match
- -s (--source, --src): source matching, expressed using domain, IP address, or netmask value
- -d (--destination, --dst): destination matching, expressed using domain, IP address, or netmask value
- -p: protocol matching, using names like TCP, UDP, ICMP; case-insensitive
- -i (--in-interface): input interface matching
- -o (--out-interface): output interface matching
- -j (--jump): specifies how to handle matching packets
target
- ACCEPT: allows the packet.
- DROP: drops the packet (as if the packet was never sent)
- REJECT: drops the packet and at the same time sends an appropriate response packet (ICMP-PORT-UNREACHABLE)
- LOG: logs the packet to syslog.
- SNAT --to [address]: translates the source IP (NAT).
- DNAT --to [address]: translates the destination IP (NAT).
- RETURN: continues packet processing within the calling chain.
If you use the above well, you can configure most any policy. Here's a simple problem. Let's block port 80 coming from the main-server, at the router. If you succeed in blocking it, then what you opened as the 22.1.24.10 apache server won't be reachable from the Windows client, right?
Are you done... I'll reveal the answer.
iptables -I FORWARD -d 22.1.24.10 -p tcp --dport 80 -j DROP
After entering the code above at the router, try connecting to 22.1.24.10 from the Windows client and
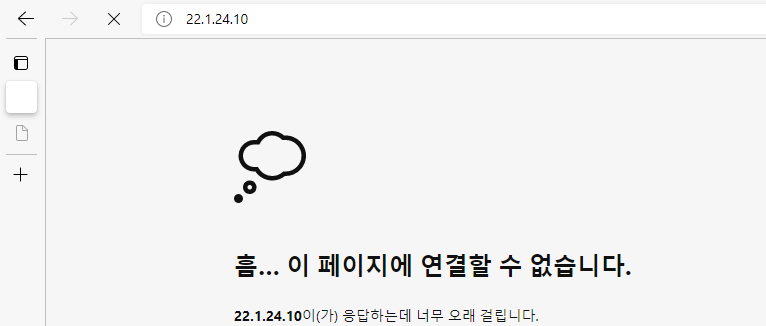
Now enter iptables -F again, then try connecting once more.
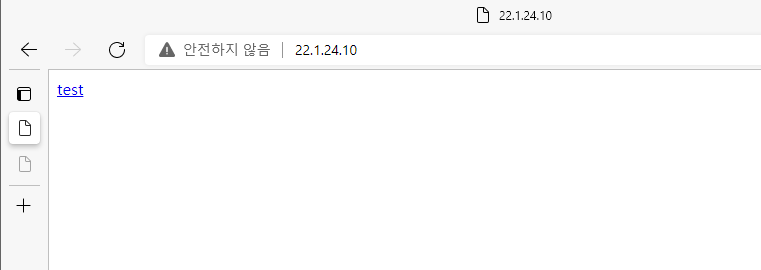
You can confirm it connects fine again. If you want to block port 80 on the main-server itself rather than the router,
iptables -I INPUT -p tcp --dport 80 -j DROP
writing it as above, likewise the Windows client can't connect.
That's it for today.
Original (Korean): tistory — published 2022-01-27, migrated to this blog. This translation was generated with the help of AI.